Continuation from Electronics Design
We will explore how to program the echo hello-world board here and continue where we left off in Electronics Design.
Assignments
- To read a microcontoller data sheet.
- Program your board to do something with as many different programming langauges and programming environments as possible.
Before we can begin testing our board, we will need to download some additional boards manager.
- Open up Arduino IDE and go to Settings. Under the "Settings" tab, go down to "Additional boards manager URLs:" and key in : http://drazzy.com/package_drazzy.com_index.json
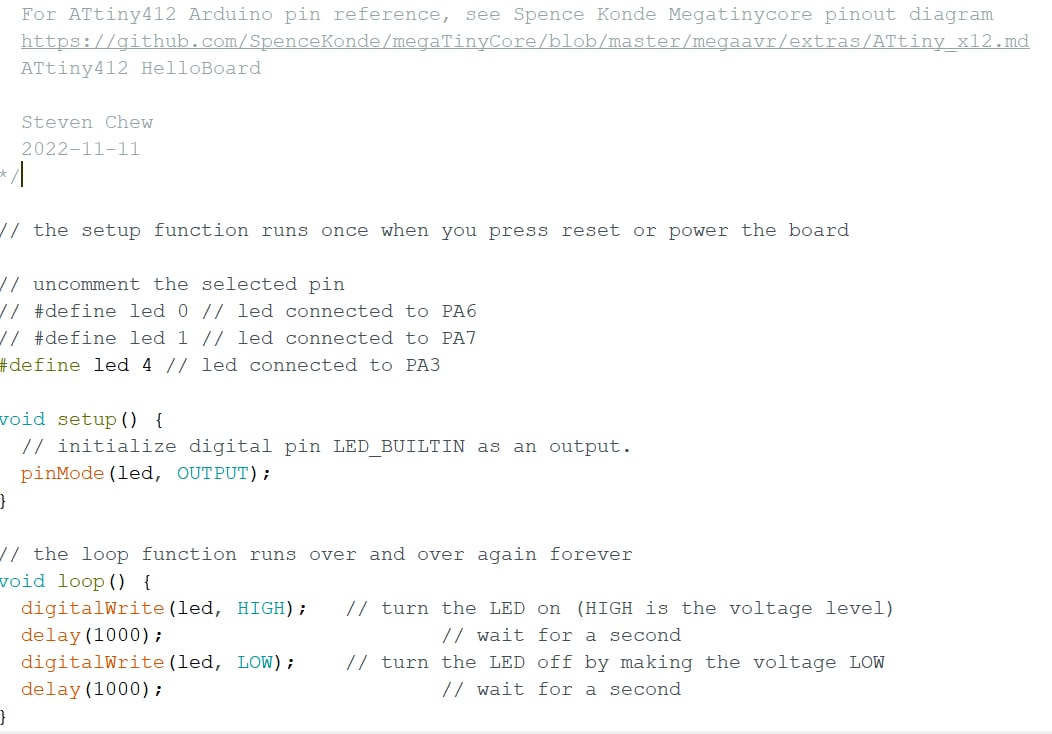
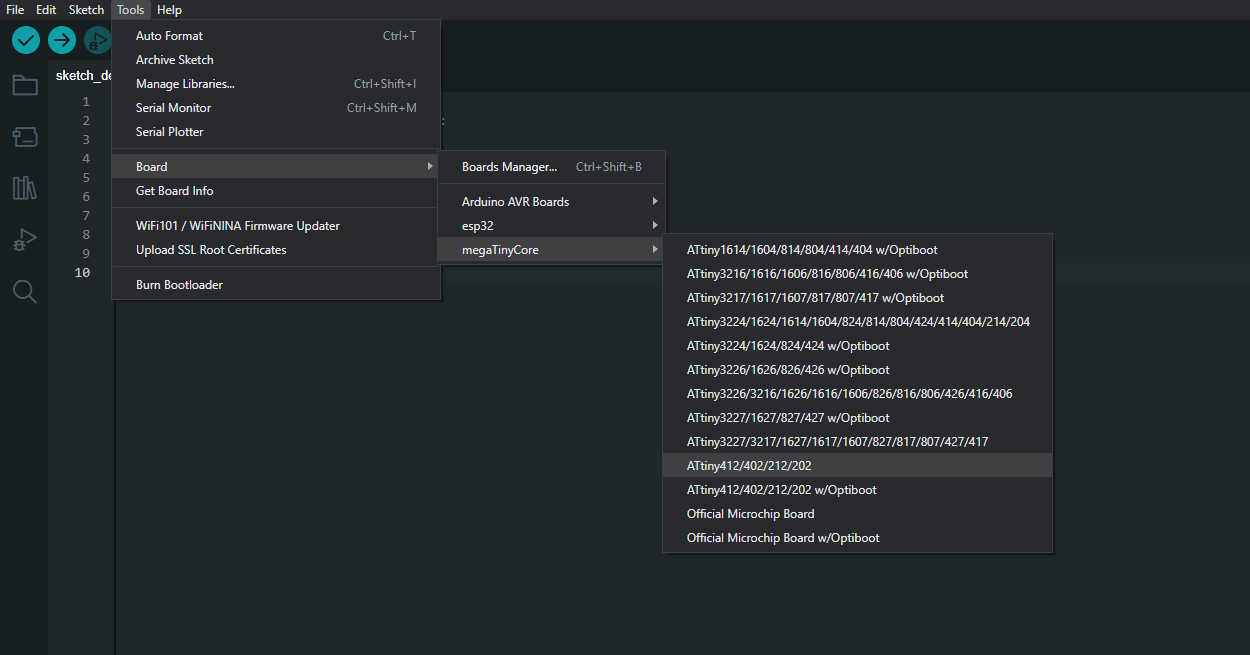
- Under "Tools", go to "Board" then "megaTinyCore" and select "ATtiny412/402/212/202".
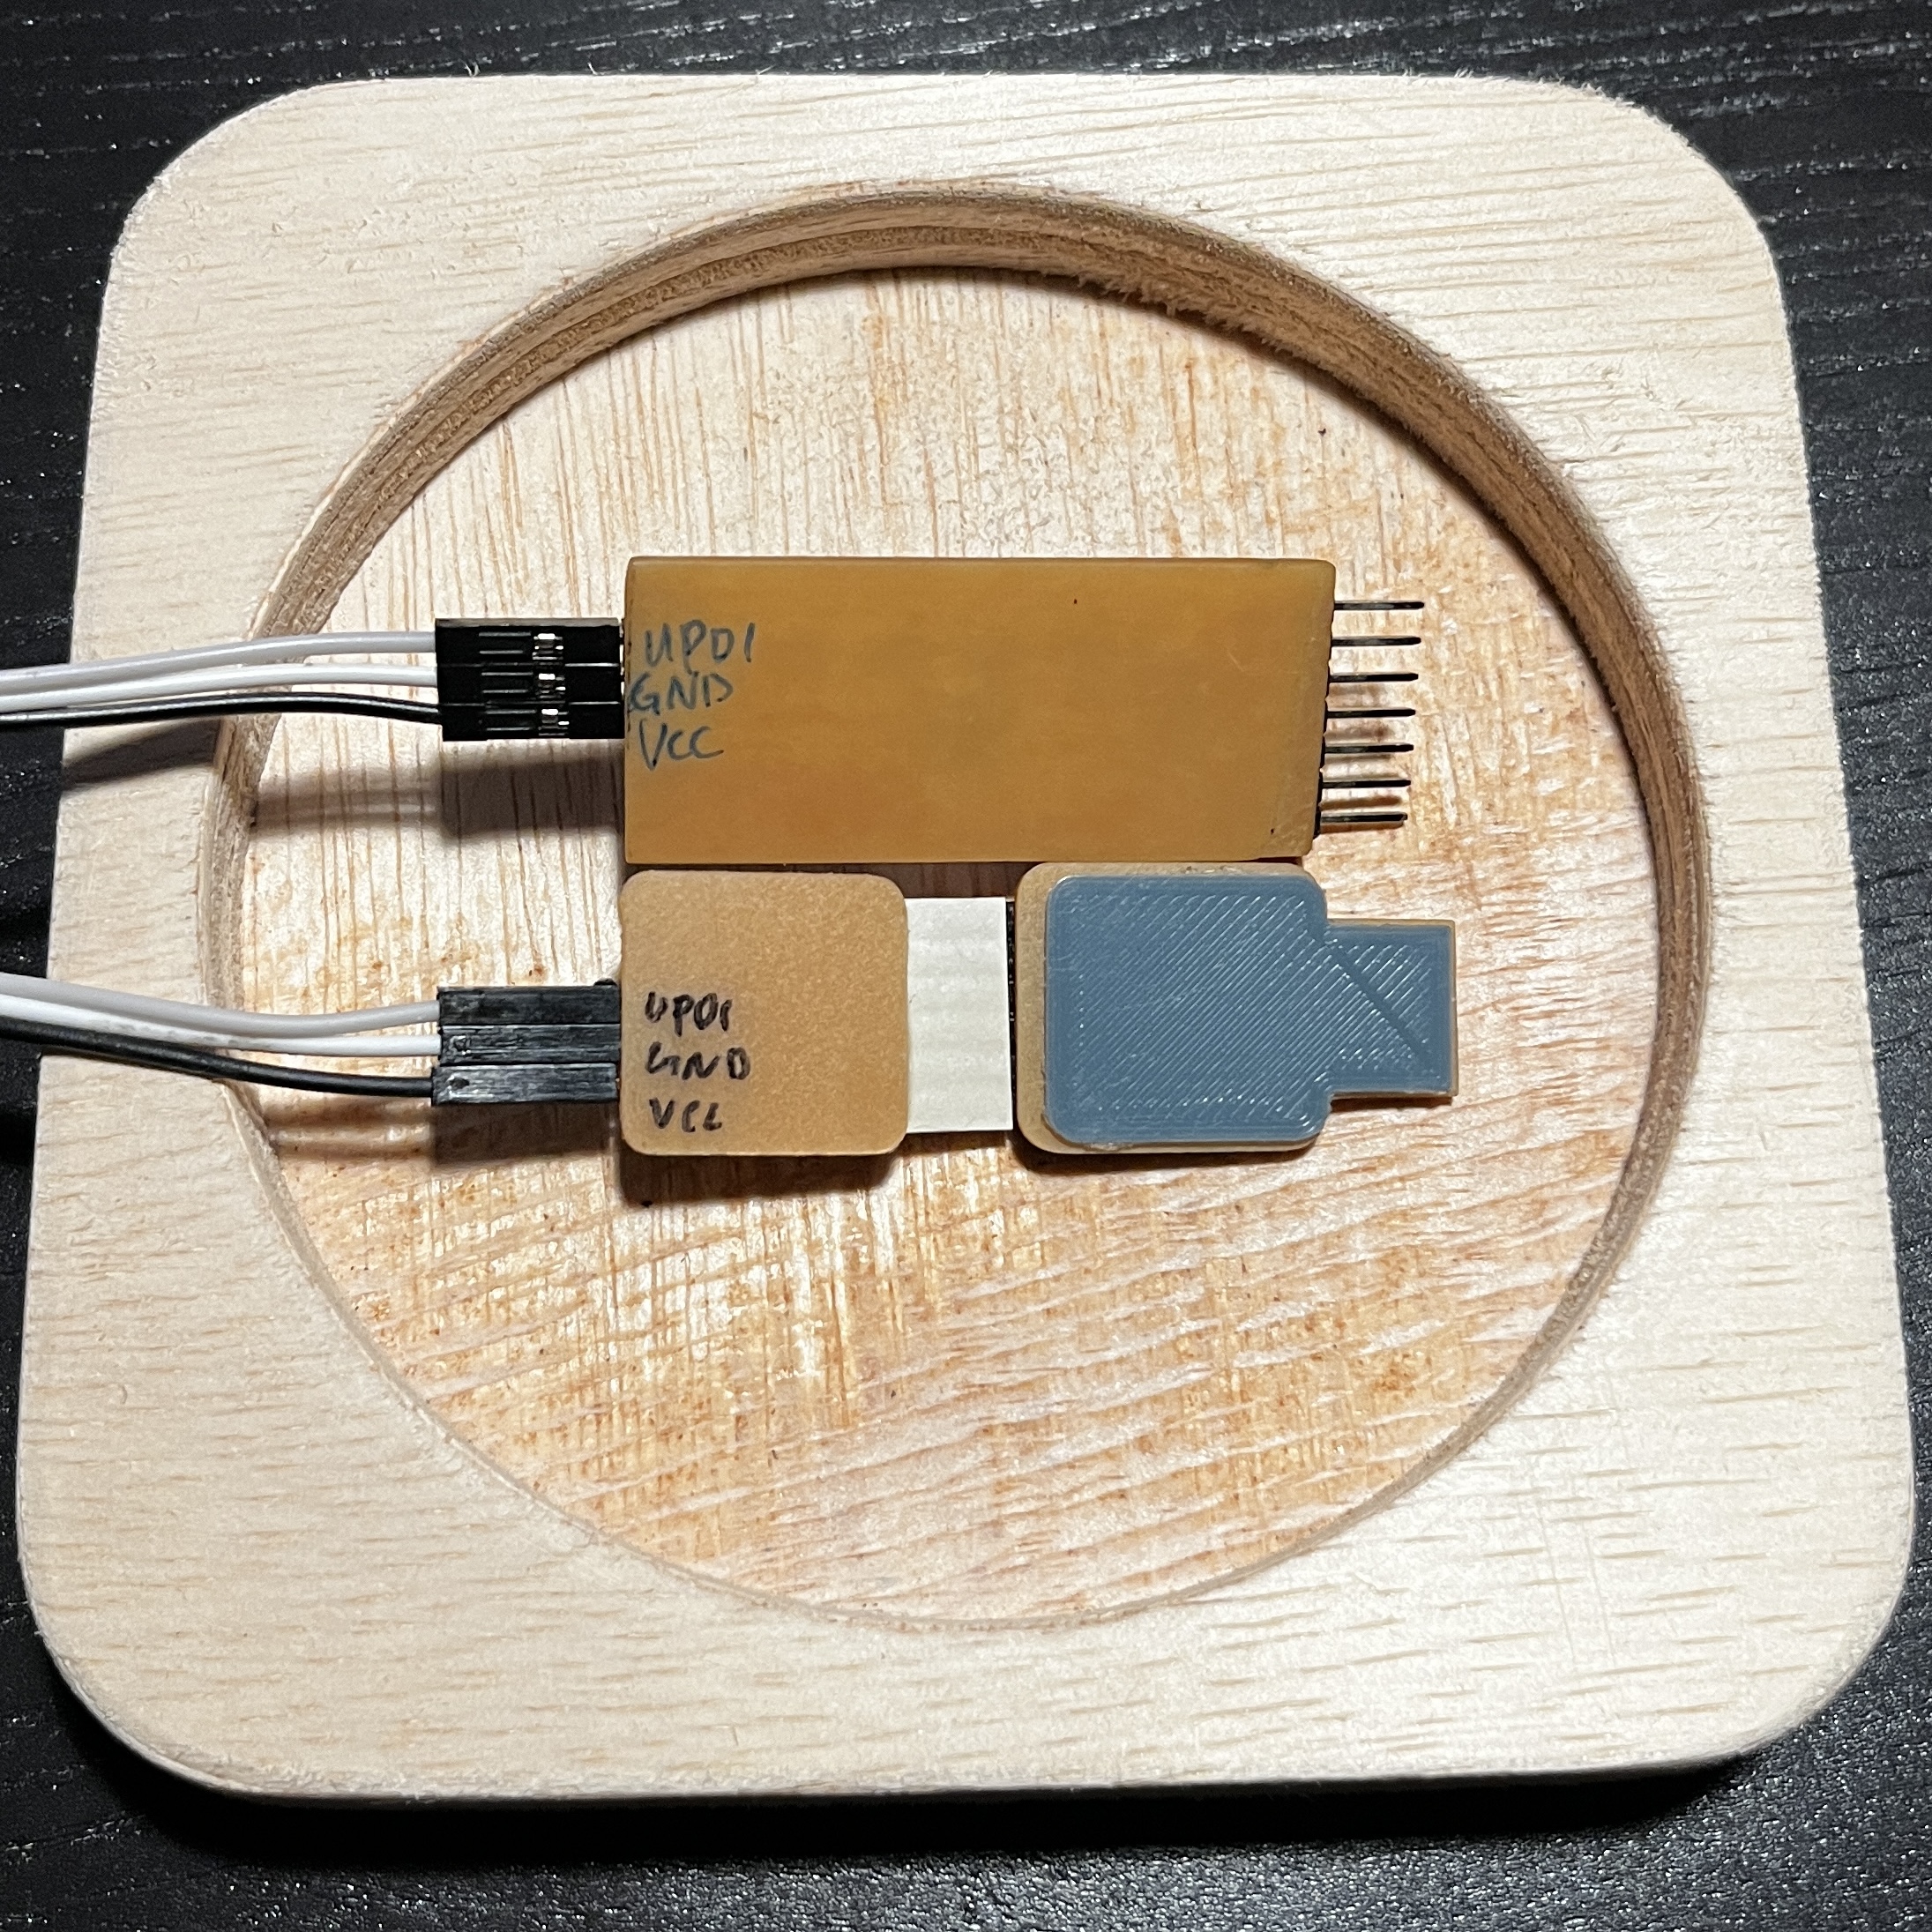
Next, we will check and label our UPDI and echo hello-world board. This is to ensure we do not incorrectly connect the two boards together potentially damaging our board or even our computers.
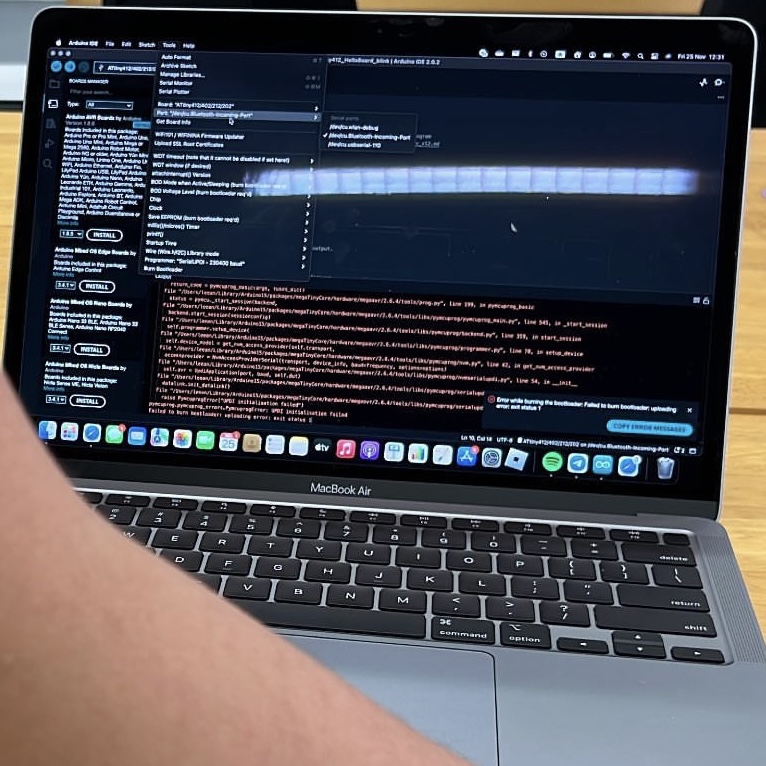
Now we will burn a new bootloader for the board. All the settings will be done under the "Tools" tab.
- Go down to "Programmer:" and select "SerialUPDI - SLOW: 57600 baud".
- We will go to clock and select "8 Mhz internal".
- Finally, we will select "Burn Bootloader".